Changing a battery is a task that any biker is going to have to deal with at some point, luckily, it's pretty straight forward.
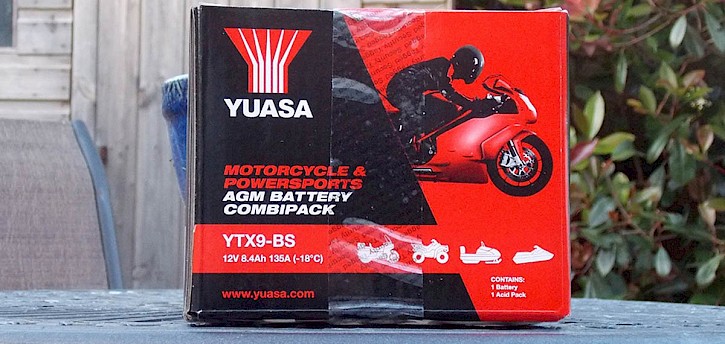 One aspect that can seem a bit intimidating to new riders is the replacement batteries themselves which can sometimes require a bit of setting up before use. Never fear however this too is pretty simple and your bike will be running again in no time.
Firstly, make sure you read and follow the instructions supplied with whichever battery pack you have. In this example, I'm setting up a Yuasa YTX9-BS to put in a 2007 ZX6R. The package comes with the battery and a cannister of electrolyte solution which the battery will need to be filled with. You will need gloves and some eye protection just in case, although I've never had any issues doing this it doesn't hurt to be on the safe side. You should also do this in a well ventilated room with some soap and water on hand in case of any spillage.
As shown in the pictures below, the battery has a foil seal across the top, this can be removed to reveal 6 edged nozzles for each of the battery's cells.
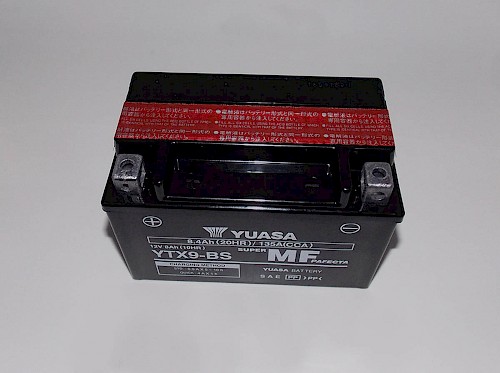
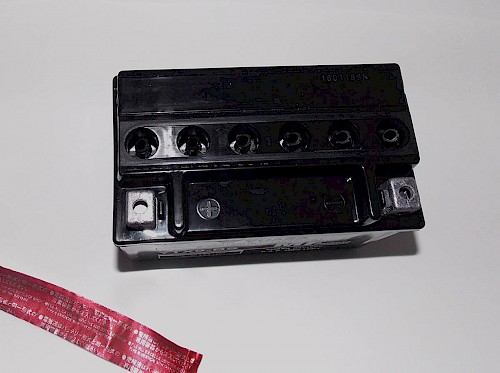
Next unwrap the electrolyte cannister and remove the cap, this will be used to seal the battery later so don't lose it. You can see the cannister is made up of 6 foil sealed tubes, do not remove the foil - the battery itself will pierce them.
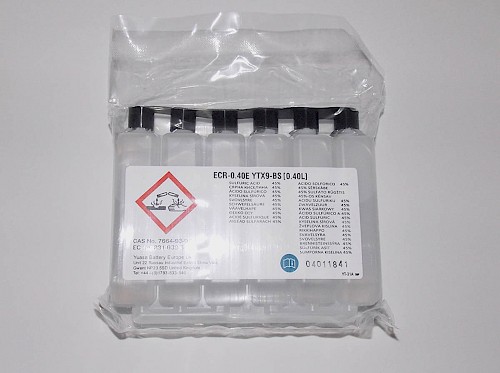
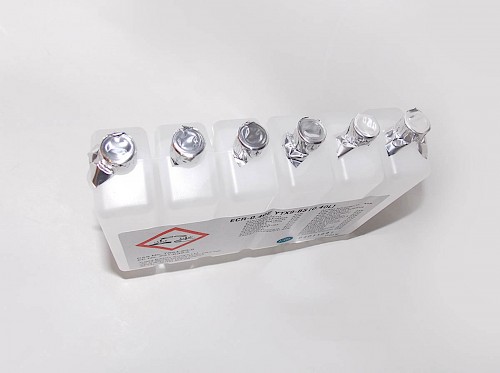
Simply turn the cannister upside down and line up the tubes with the battery's cells, then gently push down, gradually applying more pressure as needed until the seals on the cannister are punctured. The cannister should support itself and will drain slowly into the battery. You should see air bubbles rise as the cannister empties, if not you may have to gently tap the top to encourage the process. From here it's just a matter of time, for me it took around 20 minutes to fully drain.
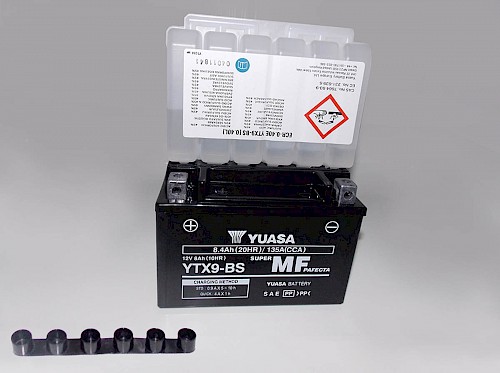
Once complete, remove the cannister and leave it to sit for around an hour to make sure the acid has completely seeped into the plates. Find the previously mentioned cap from the electrolyte cannister - this will now be used to plug the cells in the battery. Push it into place but leave it relatively loose for now to allow for any venting during the first charge.
Again, make sure you're in a well ventilated area in case any gas is emitted from the battery during charging. I used my Optimate for the job as it will stop supplying charge when the battery gets full but there are other types of charger, use the best option available for your battery. In the case of this Yuasa the charging method is recommended on the side of the battery itself. This will take a while depending on the battery you have and is best done slowly anyway to minimise stress on the battery, I left mine charging for around 6 hours before it was ready to go.
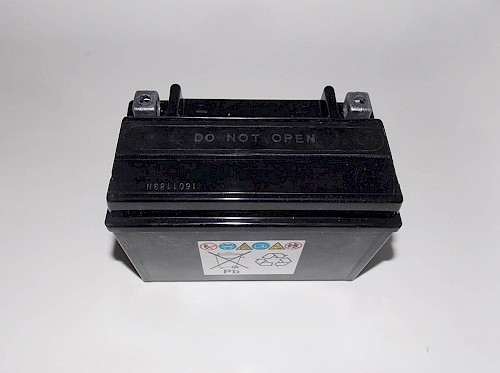
Once the battery is charged seal up the loose cap fully, pushing down on it with your palms until the cap is flush with the battery surface, it should look something like the image below. Like the rest of this process it's not difficult but takes a bit of effort, once the battery is fully sealed its ready for installation!
