It is important to carry out regular maintenance on your motorbike to keep it performing both safely and efficiently.
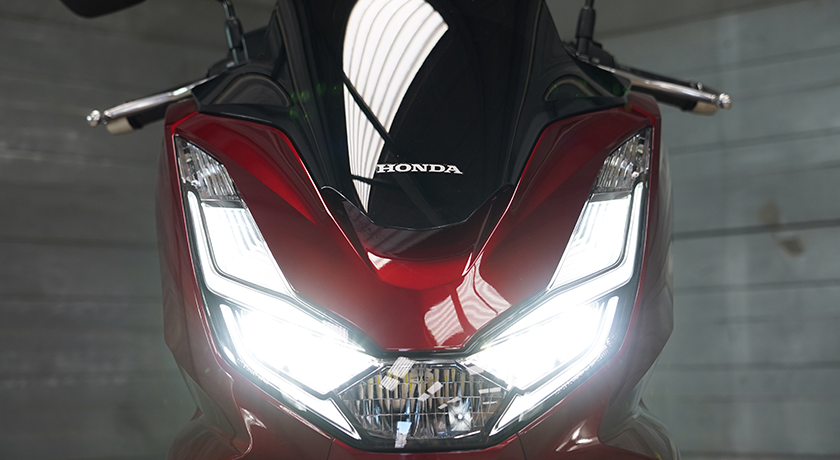
Headlights are such a vastly important part of your vehicle and can help to keep not only you safe on the road but also others who you are sharing the road with.
In this article, we are going to be covering everything regarding motorcycle headlights and the DIY tasks you can carry out yourself at home to save yourself some money.
Motorcycle headlights and the law
According to GOV.UK, a motorcycle (or motorcycle and sidecar) must be fitted with a minimum of one headlight, however, additional headlights may be fitted.
It is also a requirement that your headlights must light up immediately when they’re switched on, or when the ignition is switched on, as well as being able to change from the main beam to the dip beam when you operate the dip switch.
Daytime running lights and UK law
The official UK daytime running light law came into effect after February 2011. This law requires all passenger and light goods vehicles manufactured after that date must be fitted with daytime running lights.
However, as of yet, there are currently no rules in place requiring motorcycles to be fitted with daytime running lights. This being said, most motorcycles these days, if not all, are fitted with automatic headlights (AHO) which function almost identically to how DRLs do.
Signs you need to replace your headlight bulbs
Motorcycle headlights and the other lights on your motorcycle are important for the safety of both you the rider and anyone else on the road, this means that keeping your headlights in working order should sit high on your priority list. There are many ways that you can tell they need replacing such as:
1. You find your headlight much dimmer than it used to be
Admittedly this one can be difficult to recognise, however, it is undeniably one of the best ways to identify a problem with your headlight. Typically, motorbike headlights don’t just turn off, instead they grow gradually grow dimmer until they burn out.
If you do think that your motorcycle headlight is getting dimmer, then 9/10 it probably is and it will need replacing.
2. Burning out
Whilst dimming can occur in most lights on your motorcycle, some headlights such as LEDs will be unnoticeable until they fully burn out. Burnt-out headlights are easy to spot which means you will need to replace them as soon as possible so you can get yourself back on the road.
3. Flickering lights
Another sign that your headlight needs replacing is flickering. Loose wires and worn or broken parts can all cause your lights to flicker as the lights rely on a fully functioning system to work correctly. If you notice that your headlight keeps flickering your best bet is to take your motorbike to an expert and have it checked out - always best to be safe than sorry!
4. Cracks in the bulb case
The casing around your headlight bulb and areas surrounding the bulb can deform and cause a lot of issues for your light, meaning it won’t be working at its full capacity. Always look out for cracks or bumps in the casing to identify if this could be causing any potential issues with your motorcycle headlight and replace it right away.
5. Fluid surrounding your headlight
In the event that you’re inspecting the area surrounding the headlight and you see fluid, this means that something is wrong. If there is liquid in a light it will more than likely be water getting into the light fitting as it has a leak.
Type of headlight bulbs: which do I need?
Motorcycle headlights and the other lights on your motorcycle are important for the safety of both you the rider and anyone else on the road, this means that keeping your headlights in working order should sit high on your priority list. There are many ways that you can tell they need replacing such as:
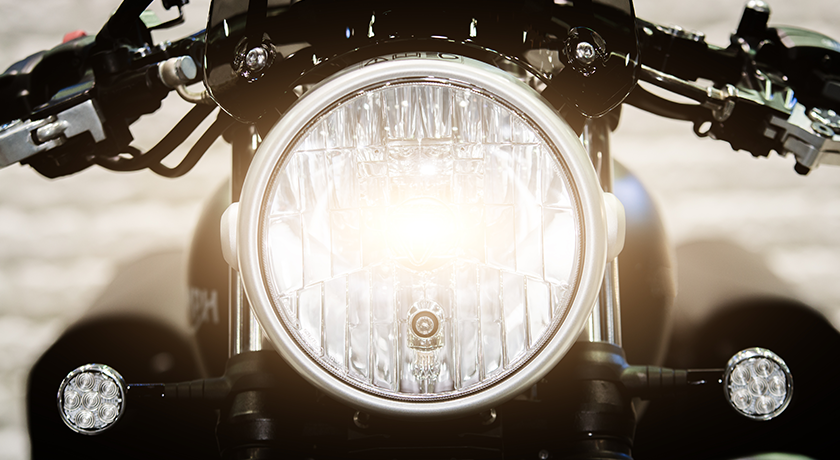
Halogen Bulbs

What are halogen bulbs?
Halogen bulbs are one of the most common types of headlights available and can be found on 80 percent of vehicles on the road today.
How do halogen headlights work?
A halogen headlight is made up of a thin tungsten filament and surrounded by halogen gas in a glass filament capsule which is resistant to high temperatures.
As electricity is sent through the tungsten filament, the electric current heats up the tungsten to 2,500 degrees celsius and starts to glow.
Duration (average): 2000 hours
Pros and cons of halogen bulbs
Pros:
- Cheap
- Easy to fit
- Bright
Cons:
- Similar lifespan to a standard bulb
- Not as bright as the other two options on this list
HID (High-intensity discharge or Xenon) bulbs
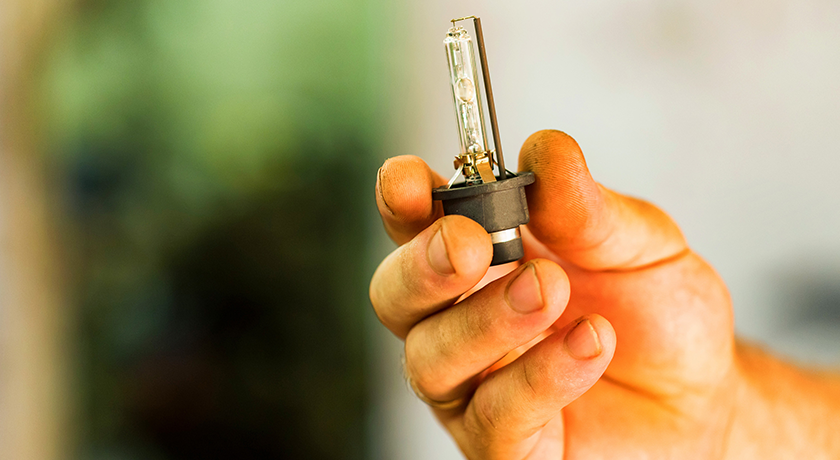
Xenon headlights are more commonly seen on higher-end motorcycles and scooters, and they come with a more premium and stylish look.
Xenon headlights, also known as high-Intensity discharge (HID) lamps deliver a white-blue toned light and are at least 2-3 times brighter than your standard halogen bulb.
What are xenon (HID) headlights?
Xenon or high-intensity discharge (HID) light is a gas-filled and very bright, energy-efficient light.
Typically you will see xenon lights on more luxury motorbikes you see on the roads today, however, they are a very common option amongst those who are choosing to replace their bulbs.
A downside to this type of bulb however has got to be their energy consumption. Bright lights come at the cost of the bulb drying quicker, which means they will need replacing much sooner than if you choose an LED bulb option.
Duration (average): 10,000 hours
How do xenon headlights work?
Xenon headlights work very differently from how your standard halogen bulb works and can be easily recognized on the roads by the blue hue they give off.
To produce light, xenons use an electric arc between two electrodes rather than a filament and can produce light at much lower temperatures thanks to the use of xenon gas.
Pros and Cons of HID Bulbs
Pros:
- Have a long lifespan
- Bright
Cons:
- Expensive
- Quite difficult to fit
LED Bulbs
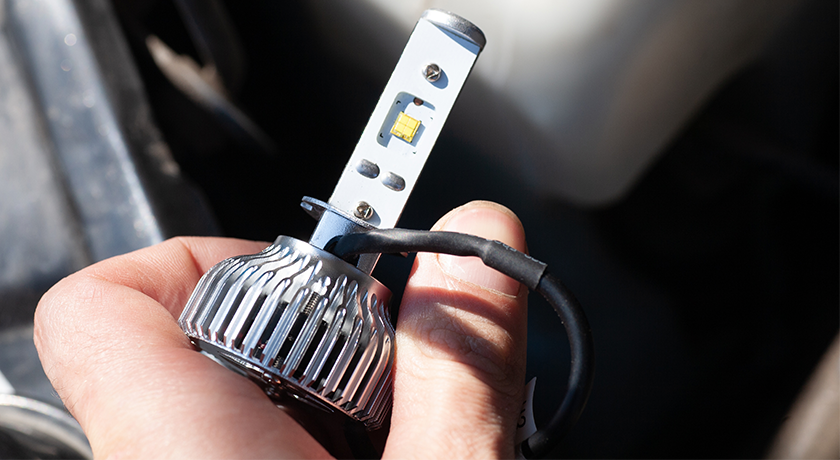
What are LED headlights?
Light-emitting diode headlights, also known as LED headlights.
How do LED lightbulbs work?
An LED is a semiconductor that emits light when a current is passed through it.
Duration: 30,000 hours
Pros and cons of LED Bulbs
Pros:
- Longest lifespan available on the market
- Environmentally friendly
- Energy efficient
Cons:
- Can overheat really easily
- Expensive
List of tools to change a motorcycle headlight bulb:
- Centre stand
- Gloves and eye protection
- Various screwdriver lengths and tips
- Torque wrench and pliers
- Socket set
- Small wire brush
- Lubricant (eg. WD-40)
- Electric contact cleaner
How to replace your motorcycle headlight bulbs
Replacing your motorbike headlight bulb should be a fairly simple task to carry out provided you take care and take your time:
1. Select a new bulb for your motorcycle
First things first, you will need to locate your motorcycle's bulb replacement specifications and part numbers in your owner's manual.
In most cases, your best bet is to replace the existing bulb with a new factory-recommended bulb. However, if you wish you can choose to upgrade to a brighter bulb you must:
- The law of your country allows this (check to see if there are any legal limits on the wattage you use)
- Your motorcycle's electric power output can handle the desired bulb wattage
2. Then, you can disconnect the pre-existing bulb
Now you’ve got your new bulb ready, you can now begin to remove the old one. There are two common types of motorcycle headlight mounting; the classic headlight nacelle and then the integrated headlight.
For integrated headlights: If your motorbike has integrated headlights, you will be pleased to know that your owner's manual shall detail step by step on how to access your headlight bulb.
For classic headlight nacelles: However, if you have a bike with external nacelles, you will need to unscrew the trim ring that is holding the headlight in place.
Once that is done, you will then need to fold back the rubber dust cover and disconnect the plug from the headlight bulb. After the plug has been removed you can open the bulb clamp and detach the old bulb disposing of it safely.
3. Prepare the new bulb
Before you install your new bulb, you will want to give it a quick clean making sure you keep your hands away from the bulb due to the risk of contamination - you can do this by using some rubbing alcohol and a paper towel.
Bulbs such as halogen are made to handle high heat produced by the light, so if you touch the surface of the bulb directly you can contaminate the bulb's surface leading to uneven heating and premature failure.
4. Next, you can connect the new headlight bulb to your bike
Before attaching your new bulb, check for any signs of corrosion around the mounting. If you find any corrosion on the socket or electric tabs you will need to:
- Brush the corroded areas using a small wire brush.
- Then spray some electric contact cleaner into the socket and clean the area.
- You can also clean out the contacts by inserting and removing the old bulb a few times.
- After you have followed these steps, respray the socket with electric contact cleaner and allow it to dry.
Once you have checked and cleaned the corrosion of your headlight mount, you can then apply some WD-40 to the electric tabs before plugging it back in and repeating the steps you took to remove the old bulb in reverse to attach the new bulb.
5. Remember: always be prepared for the worst!
Whilst motorcycle bulbs are supposed to last a fairly lengthy amount of time, unfortunately, they can fail at any opportune time, which is why you must always be prepared for the worst to happen.
In the event of headlight failure while you're riding it is always best to carry around:
- A spare headlight
- A flashlight
- Plier, screwdriver, torque wrench
- Alcohol wipes
- Dialectic grease
How to get rid of your used headlight bulb safely:
Incandescent, LED, and halogen bulbs can be disposed of directly as garbage, this is because they do not contain any type of hazardous substance. However, if you are disposing of a Xenon (HID) bulb, you will need to recycle this at a free drop-off recycling site as these types of bulbs contain mercury and are extremely hazardous.
The last stop!
So there you have it, here is our handy go-to guide on everything you need to know about checking and changing your motorcycle headlight bulbs!
It is important to note the above is just general advice, and it is always best to consult your manual, dealership, or mechanic for advice for your particular model. Only tackle maintenance tasks if you feel like you are competent to do so.
Last but not least, if you do need insurance on your very own motorbike, make sure to get a motorcycle insurance quotation direct with Lexham!